When choosing tile, layout is just as important as colour, size, and type. Different tile patterns and layouts can change the look and feel of your room.
1. Straight
Sometimes referred to as grid, this is a the classic tile layout. It works well with any size tile and keeps your space looking simple. Looking to spice up this simple layout? Try using a rectangular tile to create a modern, on trend look.

Images from Daltile
2. Diamond
When tiles are installed in a diamond pattern, they are set at a 45 degree angle. Laying tiles in this pattern creates the illusion of a larger space.

Image from Daltile
View PDF plan for the Diamond layout
3. Brick/Offset/Running Bond
Known by many names, this layout can be used with any size rectangular or square tile. The tiles can be offset by different amount. Try 50/50 offset with square tiles for a traditional brick look. A 30/70 offset with a rectangular tile creates a softer, more contemporary look.

Olympia Tile – Colour and Dimension Series
View PDF plan for brick layout with rectangle tiles

Image from Houzz – Rachel Reider Interiors
View PDF plan for brick layout with square tiles
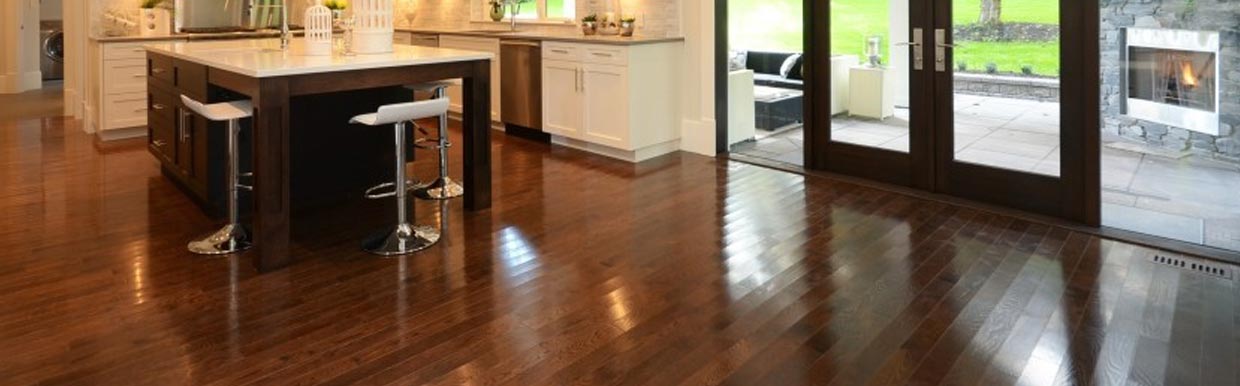
An offset tile layout with a tile that looks like wood creates a faux-wood floor with the durability of tile.

Image from Daltile
4. Checkerboard
Use different colour square tiles to create a checkerboard pattern. This pattern can be laid straight or diagonal. Using black and white creates a classic vintage feel.

Image from Daltile
5. Windmill
Choose two tiles, a rectangle and a square that is half the size of the rectangle (ie 6×12 and 6×6). Place the rectangles tiles around the square to create a windmill effect. To create this look with smaller tiles, premade mosaics like the one below are a great option to speed up the installation process.
 Image from Daltile
View PDF plan for the Windmill layout
6. Hopscotch
Similar to the windmill, this layout uses a large square tile and a square tile 2 times smaller (ie 12×12 and 6×6). Using two similar coloured tiles like in the photo below, creates a look similar to Modular Versailles but takes less time to install.

Image from Houzz – Sroka Design
View PDF plan for the Hopscotch layout
7. Herringbone
Any size rectangle tile can be used for this pattern. Herringbone floors add interest to your room and work well in both traditional or contemporary design. Use a herringbone mosaic for a backsplash or try it on your floors.

Image from This Old House

View PDF plan for the Herringbone layout
8. Modular Versailles
Whether you’re looking for something traditional or timeless, this unique layout is sure to draw attention to your tile floors. Since it requires several different shaped tiles, it’s best to use a series that was designed for the modular versailles pattern.

Image from Daltile
View PDF plan for the Modular Versailles layout
Looking for even more tile layout inspiration? Check out our Pinterest board for tile patterns
 Grout lines can have a huge effect on the way the